

Entretenimento
Essential Tools for Entertainment You Need to Know
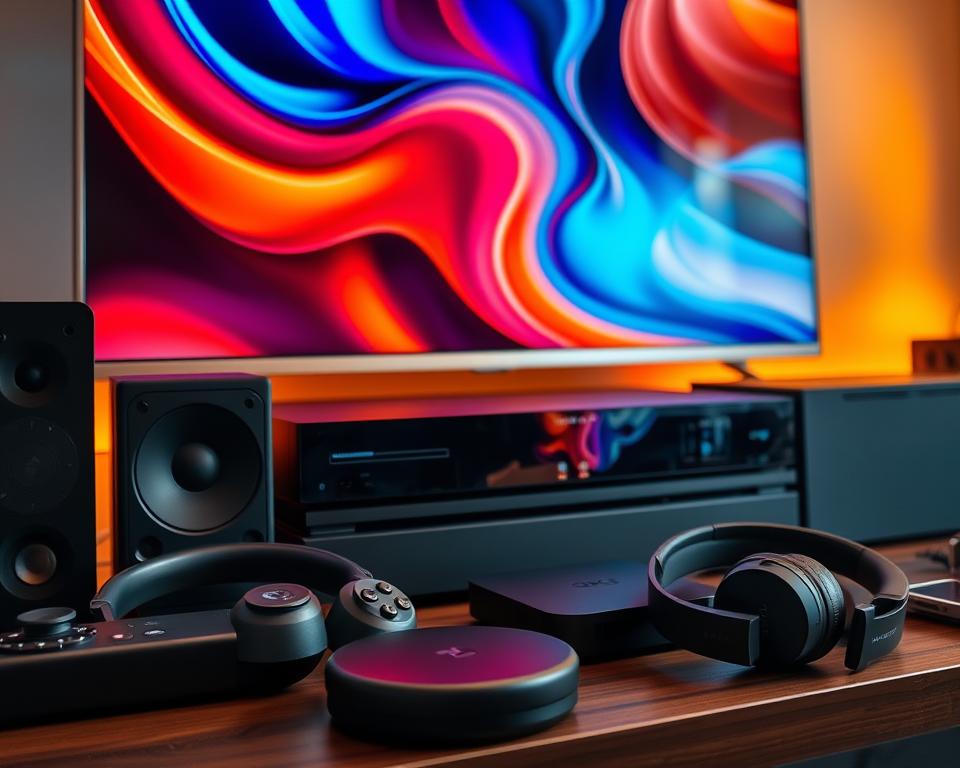
essential entertainment tools shape how you watch, make, and share media today in the United States. The industry mixes creative...
Postagens em destaque
Confira as últimas novidades da categoria
Navegar por categoria
Selecione uma categoria para ver mais conteúdo relacionado
Carregando postagens...